For example, Facebook like box & sharing plugin, facebook comments with built in moderation, facebook recommends to profile pages & many more. In many cases, the plugin database can be accessed by public when using Facebook plug-ins especially the use of Facebook comment application.
Not all the comments entered or submitted by users are genuine. Administrators must have some control in order to make it useful for users. Using Facebook apps, web developers can edit, remove & get notification for comments submitted via Facebook comments app.
Lets see how to create Facebook App Id in 10 simple steps for your BlogrCart e-commerce Blogger blogspot template with the e-commerce shopping cart features.
Step 1
Hover your mouse on " Apps" tab/link & click the “ Create A New App ”.


Step 3
Choose the " Website " icon .
Step 4
Fill up the app " Display Name " & click the " Create New Facebook App ID " button.
Step 5
To confirm choose a suitable category & click the " Confirm " button..
Step 6
After confirming, you are presented with your Facebook App ID. Copy the integers & use it for your BlogrCart powered blogspot template store or anywhere you want to use the Facebook Plug-ins.
For BlogrCart Template which are equipped with the Facebook plug-ins, the initial codes have been pre-installed, Add in your Facebook App ID where it is applies.
Step 7
To let Facebook Apps know where you are installing this application, add in your Blogger store URL at the given area below. Use the format as in screenshot. Then click the " Next " button.
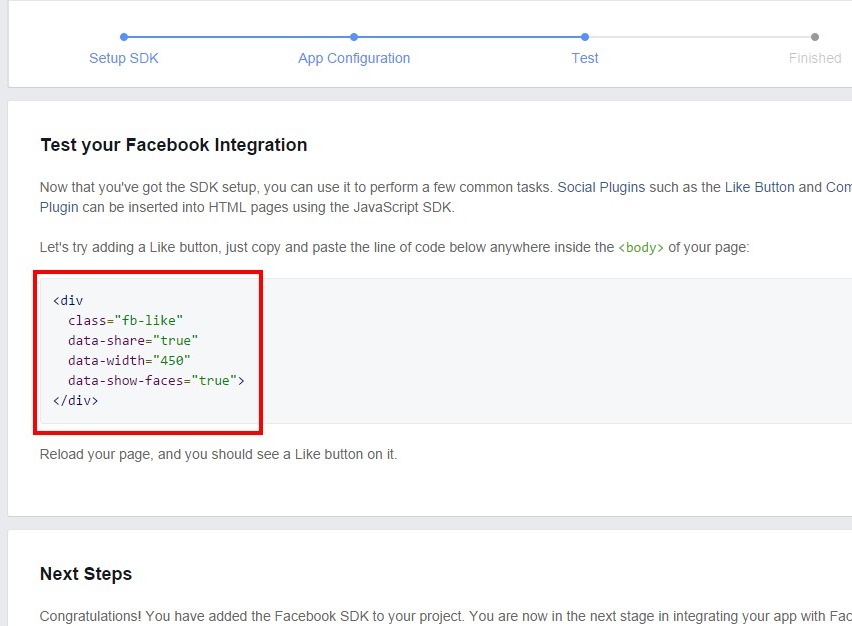
Step 8
You are presented with some codes to copy and test to see if the integration works. For Blogrcart Template users with the pre-built Facebook Plug-ins do not require test as by default it works using the temporary Facebook App ID pre-installed.
Step 9
In order to make your Facebook App public, hover to " Apps " tab and select " Settings ". Fill in the required fields as shown in the boxes below:-
And make sure you have included your email address in order to make your Facebook App public.
Then you can click the " Save Settings " button.
Step 10
Now, to activate your Facebook App & make it Public, click on the " Status & Review " link and turn On the button like highlighted in screenshoy:-
You will be presented with a dialogue box to confirm & click the " Confirm " button.
That's it! Your Facebook Apps & ID integration can now be functional. You can now use other related Apps services provided by Facebook Developers.